For my stepdaughter's wedding on April 22, 2017, I helped her with formatting, printing, and assembling her wedding invitations. Her colors were hunter green and white. She purchased green pocket fold invitations with white inserts online. As I mentioned, I helped her with formatting and printing the invitations, and the inserts with all the details. She used a piece of white satin ribbon with a piece of green ribbon as a band around the outside of the invitation. Along with ribbon she added a tag that she embossed with a bride and groom using the Cuttlebug.
Close up of the embossed bride & groom tag
She stamped flowers on the invitation and used the
Cuttlebug to add a little something to the inside
pocket with embossed champagne glasses.
Close up of the embossed champagne glasses
For the envelopes for the invitations, I created a monogram and printed them on glossy white paper, then cut them out on my Silver Bullet Cutter to fit inside the envelopes as envelope liners.
For the ceremony programs she liked this style.
As soon as I saw this I knew that embossed paper
would be much nicer than the lace in the picture.
I searched the internet for embossing folders that would
be large enough but also have an elegant look to them. I
knew Anna Griffin had to have something and sure enough
I found these on HSN, Anna Griffin Cuttlebug Embossing
Folder & Dies - Beautiful Trimmings.
I chose a wide border. There is so much detail in the
embossing folder that thin cardstock would crack and not work
so I purchased 110 lb white cardstock. I cut 3" strips of cardstock, then used Anna Griffin's dies and embossing folders on the 3" strips. After that I scored a line and folded the border so that
most of it appeared on the front but about 3/4" was folded
over the back of the program. This covered the staples.
Program cover printed on 110lb card stock
before attaching the embossed border.
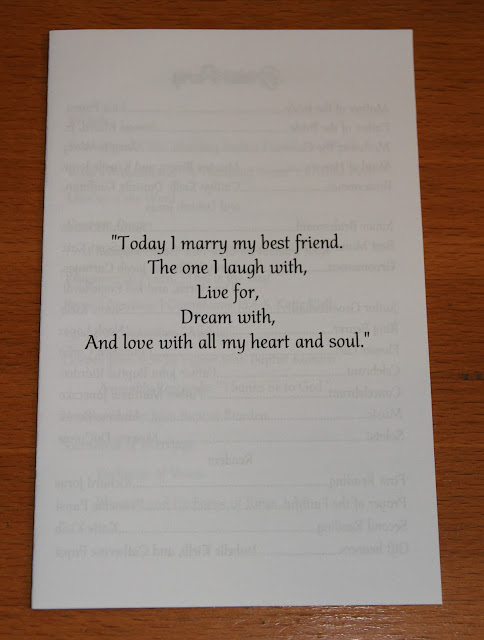
For the inside pages I printed all the ceremony details, doubled sided, in booklet form. This is a just a view of the first inside page.
Front view of the ceremony program fully assembled and stapled.
The back of the program after the border was
scored and folded over covering the staples.
I absolutely LOVE how these programs turned out. They were
my favorite project out of everything that I made for the wedding.
The bride wanted to do gift bags for the bridal party and guests
that were staying at a nearby hotel and she wanted to include an itinerary. She liked the look of this wedding weekend itinerary.
I designed three different versions of this itinerary in green and white similar to the one she liked. I made one version for the female members of the bridal party, another version for the male members of the bridal party, and the last version was for the hotel guests. I thought it would be cute to attach the itinerary to the gift bags that way it could be large, and hopefully would not get lost.
This was the bridesmaids version of the
itinerary attached to the giftbag.
Inside the bag was a jar candle, door hanger, two bottles of water, and snacks. I decorated some glass jar candles that were purchased incredibly cheap from Michaels on black friday. Again sticking with the green and white theme. I cut some strips out of green cardstock and attached them to the candle. Then I cut strips out of white cardstock and printed Mr. & Mrs. Wray with a heart. I attached the white cardstock with the printed wording on top of the green cardstock. Then I cut a label out in matching green card stock using Spellbinders and my Cuttlebug. I cut a smaller version of the same label out in white cardstock with All You Need is Love, Amanda & Michael, and April 22, 2017 printed on it.
Candle Front
Candle Side
Candle Back
Candle Other Side
Then for the lid of the candle, using my Spellbinders
and Cuttlebug, I cut and embossed a green circle, and
a smaller white circle with a monogram printed
on the white circle. I used this same monogram
on the dinner menus, and envelope liners.
View of the lid
The bride liked this style of door hanger to include in the gift bags.
This was my take on the door hangers she liked.
For the water bottle labels I designed the labels in green
with a white border that wrapped around the entire bottle
and then white lettering that said, Eat Drink & Be Married
with their names and the wedding date.
Font
Side
Other side
I also designed the dinner menus. I used the same 110lb thick
white cardstock that I previously used to make the ceremony programs. Flimsy cardstock would not have worked for the
menus. I printed two menus on each piece of cardstock. I incorporated the same monogram on the top of the menu
that I used on the candles, and the invitation envelope liners.
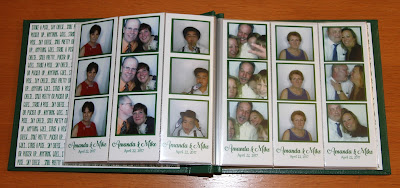
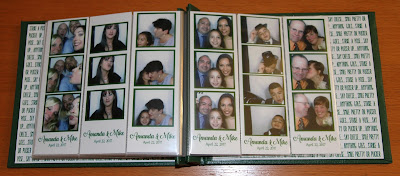
The last thing I made was inserts to go inside the 2x6 acrylic frames that her dad and I purchased as souvenirs for guests to take their photo booth pictures with them. I wanted these inserts to say thank you to the guests, include the bride and grooms names, wedding date, and somehow include butterfly's. The bride incorporated butterflies into the wedding in various ways.
These are the inserts inside of the 2x6 frames


